Raspberry Pi Remote Access: SSH & More Via Remoteiot | Guide
Are you ready to unlock the full potential of your Raspberry Pi, transforming it into a remotely accessible powerhouse from anywhere in the world? Remote access to your Raspberry Pi isn't just a convenient luxury; it's a fundamental shift in how we interact with and control our technological creations.
The digital age has ushered in an era where connectivity is not just an option, but a necessity. For enthusiasts, developers, and even businesses, the ability to manage and control devices remotely is increasingly becoming a cornerstone of efficient operations. The Raspberry Pi, with its compact design and versatile capabilities, has become a favorite for countless projects, from home automation systems to complex IoT networks. But how do you truly harness its power when you're not physically present? The answer lies in remote access, specifically through the use of remote IoT (Internet of Things) platforms.
Setting up remote access to your Raspberry Pi is a journey that combines both ease and depth. It involves the seamless integration of software and the creation of a secure network. Whether you are a seasoned developer or a beginner, the steps can be followed with ease, offering you an opportunity to gain insights into the inner workings of remote access technology.
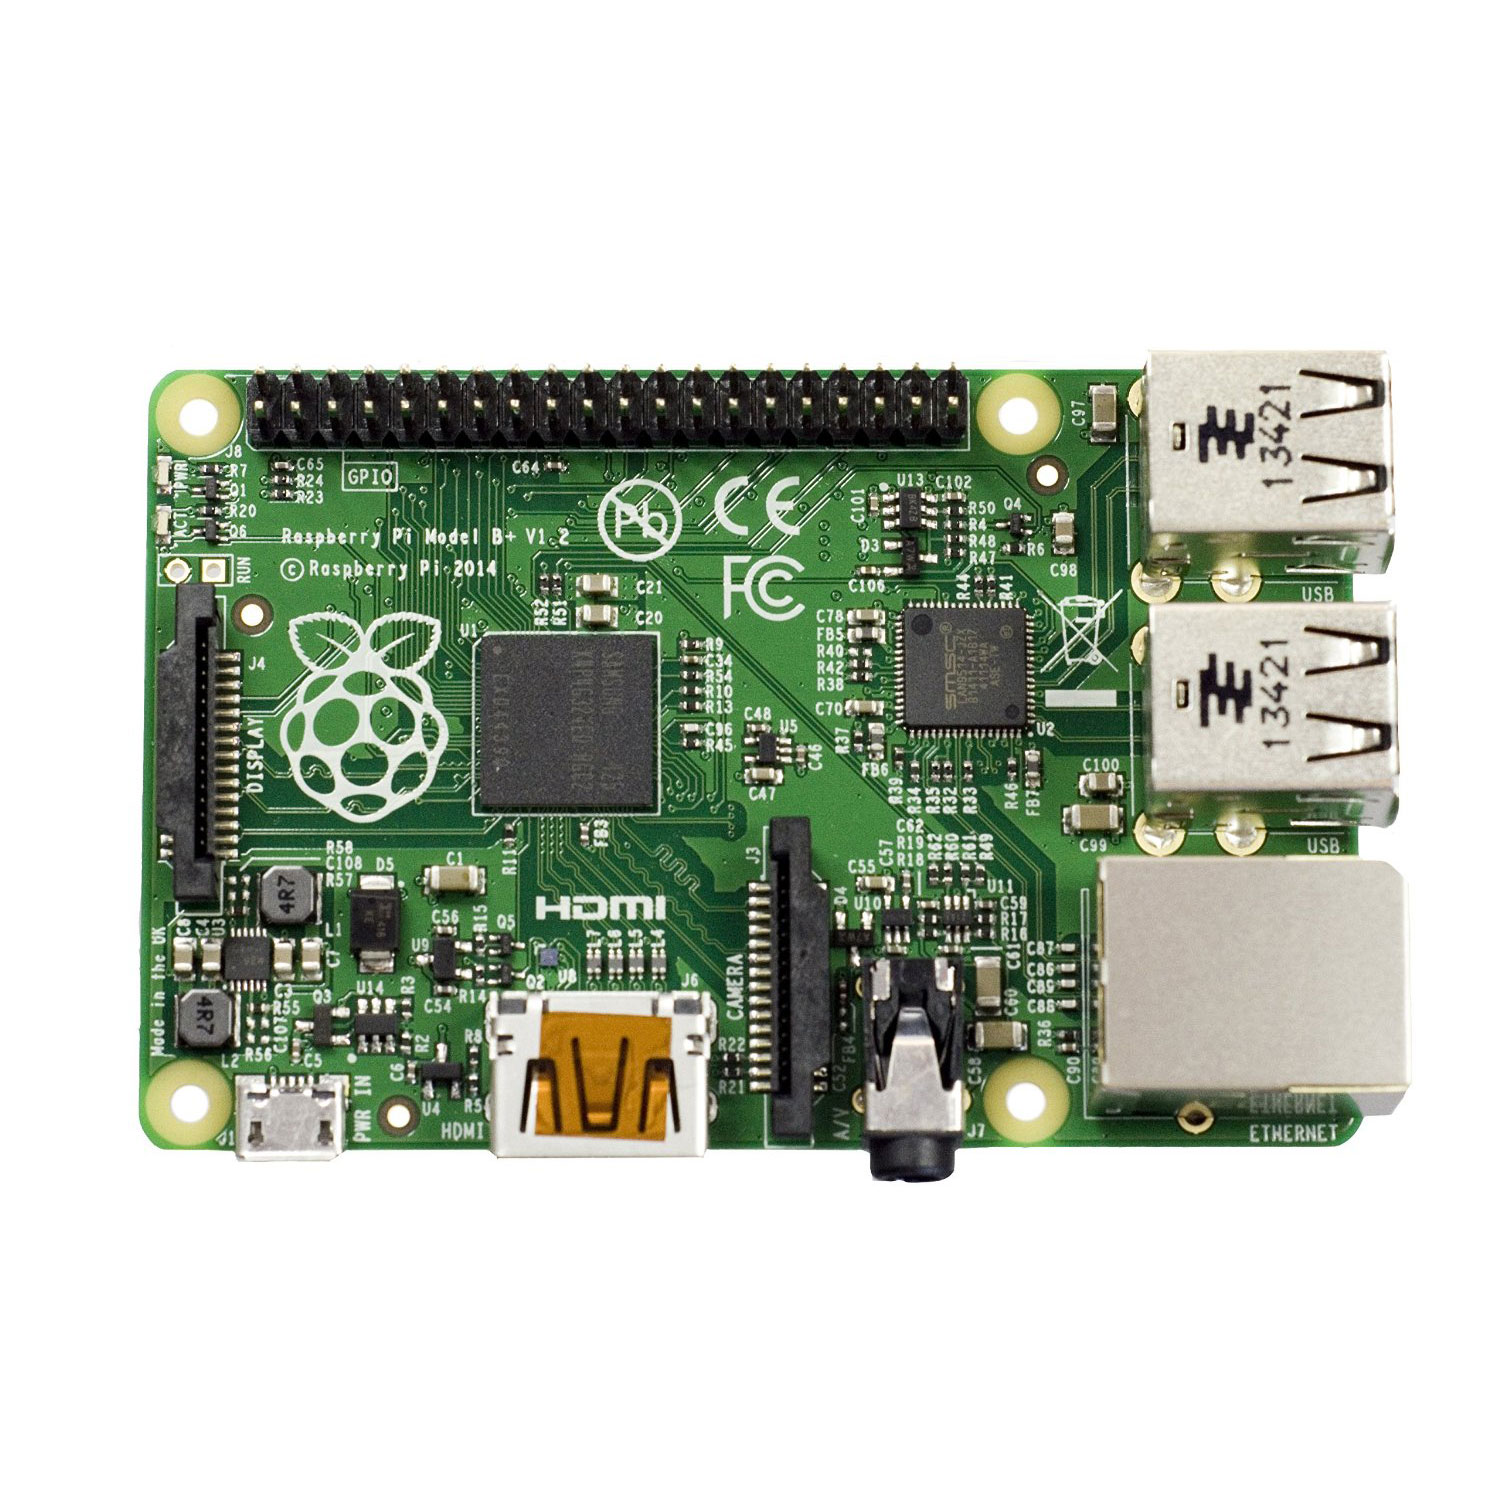
Before we proceed, lets briefly explore what makes a Raspberry Pi so appealing for such applications. Its affordability, compact size, and low power consumption make it a favorite for a variety of projects. It's not just a computer; it's a platform for innovation, whether you are looking to build a smart home system, create a robot, or monitor environmental conditions.
Understanding the advantages of remote access will empower your operations. Consider the flexibility it provides. Imagine being able to monitor your home security system while on vacation, deploy software updates to a remote sensor network, or troubleshoot a device without physically being present. For businesses, this can lead to significant savings in time and resources, optimizing staff efficiency and operational cost.
The core principle is to enable you to access your Raspberry Pi from anywhere with an internet connection. This involves installing the required software on your Raspberry Pi and then connecting through a secure remote access platform. The process may seem intricate at first, but it's designed to be user-friendly and manageable, regardless of your technical background. Let's embark on this journey together, starting with the basics.
The core of this remote access solution lies in the use of remote IoT platforms. These platforms act as the central hub, creating a secure link between your Raspberry Pi and your remote access point.
The remote access setup typically involves the following steps, which we'll explore in greater detail:
- Installing the Remote IoT Agent: The first step is to download and install a special agent on your Raspberry Pi. This agent acts as the bridge between your device and the remote access platform.
- Creating an Account and Logging In: You'll need to create an account on the remote IoT platform and log in to the dashboard.
- Connecting Your Raspberry Pi: Once logged in, your Raspberry Pi will be visible in the dashboard.
- Connecting to Your Device: You'll click on the connect port to establish a secure connection.
Lets take a deeper dive into the specific tools and steps involved.
The RemoteIoT Platform: Your Gateway to Remote Access
RemoteIoT platforms are like the Swiss Army knives of IoT management, providing you with seamless control and interaction with your devices from anywhere in the world. They provide a secure and reliable means of accessing your Raspberry Pi. Whether you are tinkering with a home automation project or managing complex IoT systems, these platforms simplify the remote access process, making it manageable even for non-experts.
These platforms facilitate remote access through a variety of methods, including SSH (Secure Shell) and VNC (Virtual Network Computing). SSH provides a secure command-line interface, allowing you to execute commands and manage your Raspberry Pi from a distance. VNC, on the other hand, provides a graphical desktop environment, giving you full visual control of your device's user interface.
Many platforms also offer additional features, such as:
- Device Monitoring: Monitoring the status and health of your Raspberry Pi.
- Secure Connections: Encrypted connections to protect your data.
- User-Friendly Interfaces: Intuitive dashboards for easy management.
- Firewall Traversal: Tools to help you connect to devices even behind firewalls.
The RemoteIoT Platform in Action
The specific steps for setting up remote access vary depending on the platform you choose, but the general process is consistent. Here's a typical breakdown:
- Account Creation: Sign up for an account on the RemoteIoT platform. This typically involves providing an email address and creating a password.
- Agent Installation: Download and install the agent on your Raspberry Pi. The agent is a small software program designed to facilitate communication between your device and the platform. The installation process usually involves a few simple commands that you enter into your Raspberry Pi's terminal.
- Device Registration: After the agent is installed and running, your Raspberry Pi should appear in your account dashboard.
- Connection Configuration: The dashboard will allow you to configure the connection type. This might be SSH for command-line access or VNC for a graphical desktop.
- Accessing Your Raspberry Pi: Once everything is set up, you can connect to your Raspberry Pi through the platform's web interface or a dedicated client application.
The ability to install the remoteIoT agent, log in, connect via SSH or VNC, and access your Raspberry Pi remotely is a testament to the efficiency and power of remote access.
SSH: The Command-Line Powerhouse
SSH, or Secure Shell, is a network protocol that allows you to securely access a remote device's command-line interface. For developers, system administrators, and anyone comfortable with the command line, SSH is an extremely efficient method of remote control. SSH offers a level of security and control that makes it an ideal choice for many remote access scenarios.
SSH has become an essential tool for developers and hobbyists who want to manage and control their IoT projects remotely. Whether you're setting up a home automation system or running a complex network of sensors, understanding SSH and its application in IoT can significantly enhance your project's capabilities. You can use SSH to execute commands, upload files, and manage configurations, all through a secure, encrypted connection.
Once you have installed the remoteiot service on your Raspberry Pi, you can utilize it for remote SSH access. By logging into the remoteiot portal and accessing the dashboard, you'll be able to see your Raspberry Pi listed as one of your account devices. From there, selecting the SSH port will initiate a secure, command-line connection to your device.
Heres how it generally works:
- Installation: The first step is to install the SSH server on your Raspberry Pi. This can usually be done with a simple command:
sudo apt install openssh-server - Configuration: You might need to configure SSH settings, such as changing the default port or enabling key-based authentication.
- Connection: Once the SSH server is running, you can connect to your Raspberry Pi from your local machine using an SSH client. Most operating systems include an SSH client by default. For example, on Linux or macOS, you can open a terminal and type:
ssh pi@. Replace
When using a RemoteIoT platform, the process is simplified. The platform handles the connection complexities, allowing you to connect to your Raspberry Pi via SSH with a few clicks.
VNC: Remote Desktop Control
VNC, or Virtual Network Computing, is a graphical desktop sharing system. It lets you see and interact with the desktop environment of your Raspberry Pi as if you were sitting right in front of it. VNC is ideal for tasks that require a visual interface, such as running graphical applications or managing the operating system through a desktop environment.
The remote desktop offers the simplicity of visual control, but there's more to the process than meets the eye. One of the initial steps is setting up a desktop environment, like XFCE, which provides a graphical user interface.
The remote desktop setup involves several steps:
- Choose a VNC Server: Several VNC server options are available for Raspberry Pi, such as TigerVNC and RealVNC.
- Install the VNC Server: Install the VNC server on your Raspberry Pi using the package manager:
sudo apt install. - Configure the VNC Server: Configure the VNC server with a password for access.
- Connect with a VNC Client: Use a VNC client on your local machine to connect to the Raspberry Pi. You'll typically enter the IP address of your Raspberry Pi and the port that the VNC server is running on.
Using RemoteIoT platforms, accessing your Raspberry Pi via VNC becomes incredibly straightforward. You select the VNC port in the platform dashboard, and the connection is established securely.
With web console, you can connect your Raspberry Pi directly from your PC browser or mobile device. The web console is a standard terminal emulator for the X Window System.
Setting up a Secure Remote Access
Security is paramount in remote access. Here are some best practices for creating a secure environment for your Raspberry Pi:
- Strong Passwords: Use strong, unique passwords for both your SSH and VNC access.
- Firewall: Configure a firewall on your Raspberry Pi to restrict access to only necessary ports.
- Key-Based Authentication: For SSH, use key-based authentication instead of passwords to increase security.
- Regular Updates: Keep your Raspberry Pi's operating system and installed software updated to patch security vulnerabilities.
- Two-Factor Authentication: Consider using two-factor authentication (2FA) for the remote access platform you use.
- Network Segmentation: If possible, segment your network to isolate your Raspberry Pi from other devices.
Case Studies and Applications
Remote access to Raspberry Pi opens the door to a wide range of applications. Here are a few real-world examples:
- Home Automation: Control and monitor smart home devices remotely, such as lights, thermostats, and security systems.
- Remote Monitoring: Set up environmental monitoring systems, such as temperature sensors, and access the data remotely.
- Robotics: Control and monitor robots or other automated devices remotely, allowing you to remotely test, deploy updates, or debug applications.
- Education: Enable students to access shared Raspberry Pi devices remotely for group projects, coding experiments, or robotics competitions.
- Remote Updates: Push updates to a wide range of IoT devices over the internet, streamlining software deployment and reducing on-site maintenance efforts.
- Development and Debugging: Streamline development workflows by securely connecting to remote Raspberry Pi devices to run tests, deploy updates, or debug applications.
The Future of Remote Access and IoT
Remote IoT device management platforms are constantly evolving, offering more sophisticated features and greater ease of use. The integration of cloud computing, artificial intelligence, and machine learning is poised to further enhance the capabilities of these platforms.
The future potential of remote IoT includes:
- Enhanced Security: Improved security protocols and threat detection.
- Advanced Analytics: Data-driven insights into device performance and user behavior.
- Increased Automation: Automated device management and updates.
Remote OTA (Over-the-Air) updates for Raspberry Pi and IoT devices will save IT staff time and effort, allowing them to push updates remotely.
Your Remote Access Toolkit
Now, with the essential knowledge and tools in place, you're ready to set up secure remote access for your Raspberry Pi and experience the flexibility and control it provides. Whether you're a hobbyist, a developer, or a business professional, the ability to manage your devices remotely is no longer a luxury but an essential skill. With remote access, you can connect to any device behind firewalls. Whatever your application and whatever your scale, Raspberry Pi offers cost-effective, high-performance computing for businesses and the home. Let's explore the key elements in more detail, and how you can leverage remote access to control your Raspberry Pi devices securely from anywhere.
Step-by-Step Guide: Setting up Remote Access with RemoteIoT
Let's walk through a practical example using a RemoteIoT platform. Remember that specific steps may vary slightly depending on the platform, but the general process remains consistent.
Choosing a Remote Access Platform: The first step is to choose a remote access platform that suits your needs. Evaluate your requirements, such as the number of devices you need to manage, the level of security, and the type of access (SSH, VNC, etc.). Some popular choices include Remote.it, and SocketXP.
Heres a step-by-step guide:
- Sign Up and Create Account: Visit the remote.it or SocketXP website and sign up for an account.
- Install the Remote Client: After signing up, they'll need to install the remote.it or SocketXP client on their Raspberry Pi. Remote.it and SocketXP provide simple commands to get everything set up on the device.
- Download and Install the Agent: Following the platform's instructions, download and install the appropriate agent software on your Raspberry Pi. This agent acts as a bridge between your device and the remote access platform.
- Register Your Device: Once the agent is installed and running, it will attempt to register your Raspberry Pi with the platform. This usually involves providing your account credentials during the agent setup.
- Connect through the Platform: Now, open the remote.it or SocketXP portal in your browser and login to the dashboard. You should now see your raspberry pi in the list of account devices. Click connect port and select the ssh or vnc port. You will get a hostname (like proxy8.remoteiot.com) and a port (like 10008). Now copy the hostname and port to the corresponding fields in the remote access tool
- Configure the Connection: From the platform's dashboard, you'll be able to configure your connection type (SSH or VNC) and any other relevant settings.
- Access Your Raspberry Pi: Once the setup is complete, you can connect to your Raspberry Pi through the platform's web interface or a dedicated client application.
Best Practices for a Secure Remote Access Setup
To secure your remote access setup, follow these practices:
- Choose Strong Passwords: Use strong, unique passwords for your account and any other credentials.
- Enable Two-Factor Authentication (2FA): Wherever possible, enable 2FA to add an extra layer of security.
- Keep Your Software Updated: Regularly update your Raspberry Pi's operating system and remote access software to patch any security vulnerabilities.
- Secure Your Network: Ensure your home network is secure, including a strong Wi-Fi password and a firewall.
- Monitor Your Devices: Keep an eye on your devices' activity and access logs for any unusual behavior.
Beyond the Basics: Advanced Use Cases
Once you have mastered the basics of remote access, you can explore advanced use cases such as:
- Remote OTA Updates: You can remotely update the software on your Raspberry Pi and other IoT devices.
- VPC Network Setup: Set up a secure VPC (Virtual Private Cloud) network for your Raspberry Pi.
- Advanced Monitoring and Diagnostics: Implement advanced monitoring and diagnostic tools to track the health and performance of your devices.
Resources and Further Reading
Here are some resources that you may find helpful as you dive deeper into remote access for your Raspberry Pi:
- Online Documentation: Consult the documentation provided by the remote access platform you choose.
- Tutorials and Guides: Search for tutorials and guides on the internet for setting up remote access on Raspberry Pi.
- Online Communities: Join online communities and forums where you can ask questions, share your experiences, and learn from others.


